Getting Started with O2DES.Net
This page guides you in setting up your first O2DESNet project.
Installation
- Install Visual Studio if you have not already done so. The free Visual Studio Community is sufficient.
- Install the O2DES.Net Template from Visual Studio Gallery.
Setting up your project
- Create a new project in Visual Studio
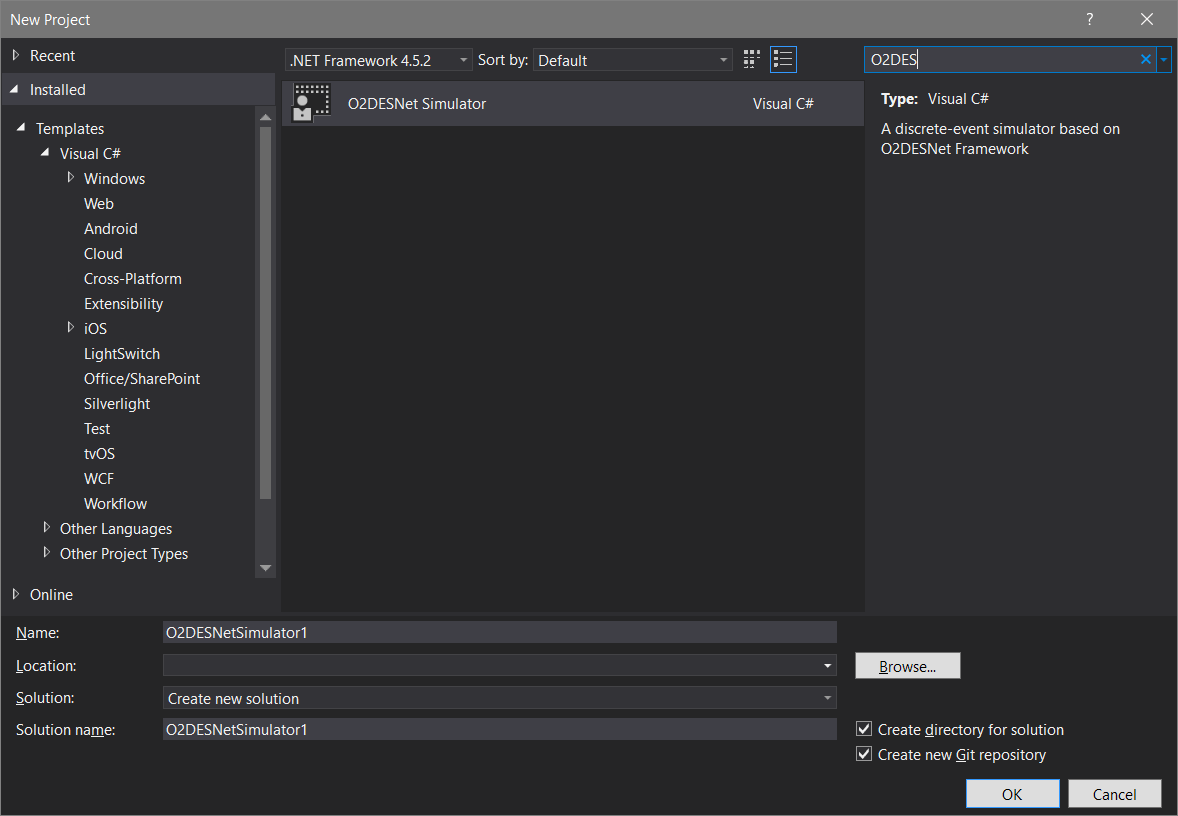
File > New > Project... - Select
O2DESNet Simulatortemplate under Visual C#. Specify your project and solution name as well as the solution directory. This template automatically creates a C# project with the required O2DES classes and references. - Perform an initial build
Build > Build Solution. During the first build, Visual Studio should automatically download the relevant NuGet Packages. Should it fail to obtain the relevant NuGet Packages, see the subsequent section.
Getting the relevant NuGet Packages
Note: skip this step if the initial build has successfully downloaded the relevant NuGet Packages.
1. Open NuGet Package Manager in Visual Studio Project > Manage NuGet Packages...
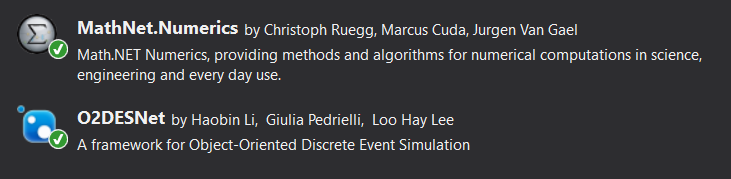
2. Search and download the following packages: MathNet.Numerics and O2DESNet
You should see the following packages installed in your NuGet Package Manager:
You are now ready to work on your O2DESNet project!